 (Image via
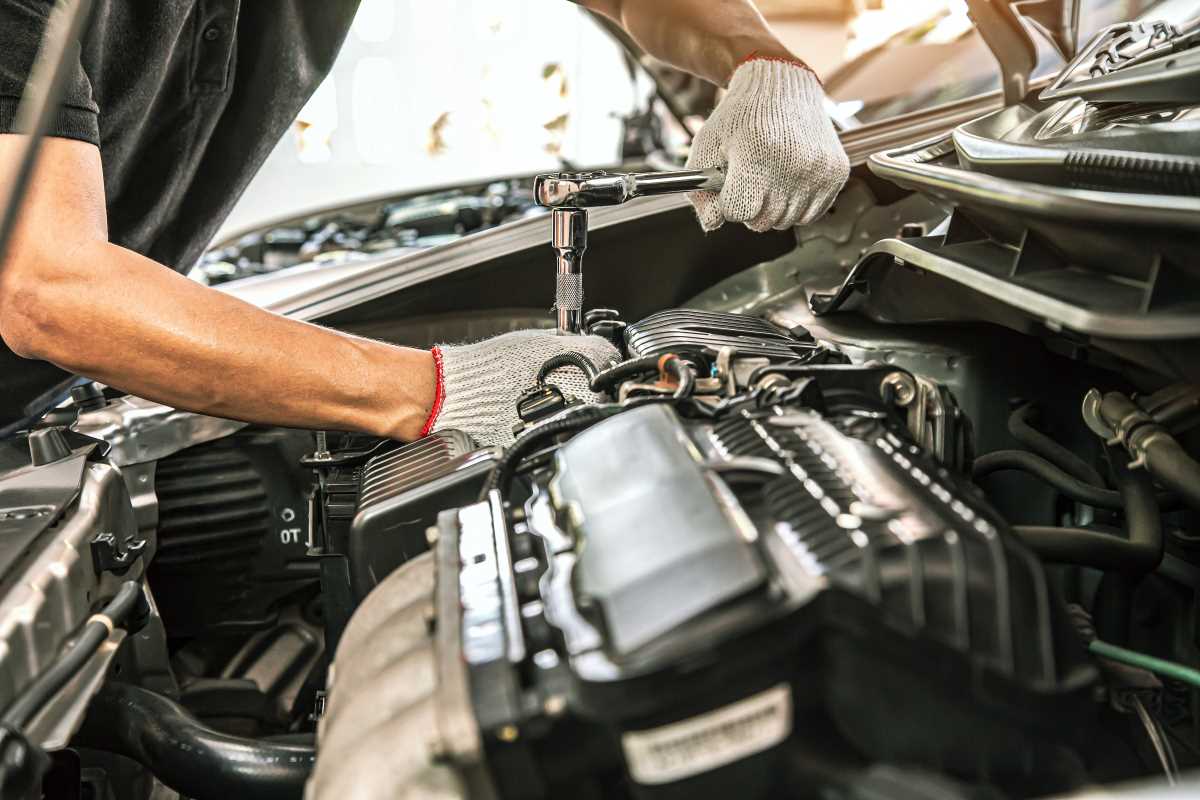
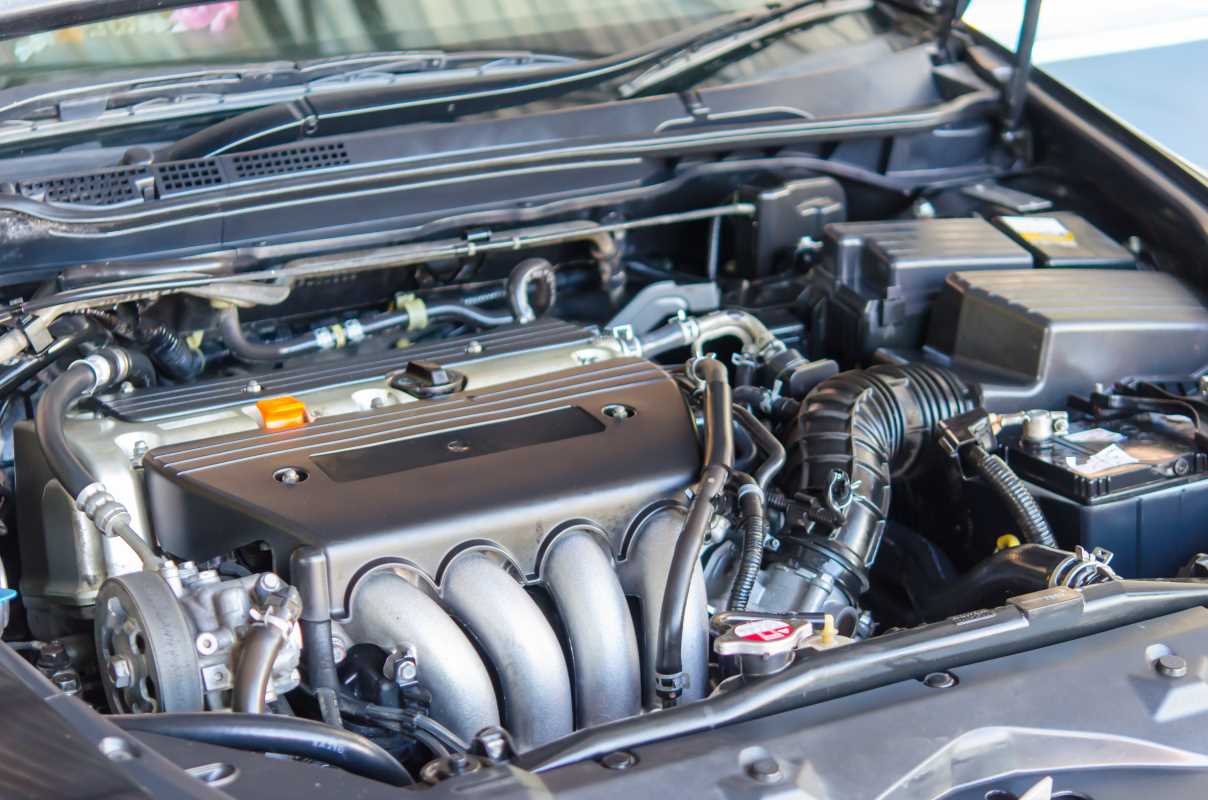
Opening your car hood should reveal clean, impressive engineering, not grime and oil stains. Keeping your engine bay tidy is more than just about looks; it is an essential part of car maintenance. Built-up dirt can hide leaks, drips, and even cause excessive heat under the hood. Using the right cleaning product helps remove oily residue, restores a fresh appearance, and makes routine maintenance easier. In this guide, we’ll explore the best engine cleaners available, explain the differences between various types, and outline a simple step-by-step process for safely cleaning your car’s engine area. Whether you are a car enthusiast or just want to keep your vehicle in good shape, a clean engine bay makes all the difference.
Why It Pays to Keep Things Clean
A spotless engine compartment does more than grab attention at car meets. It can even improve the longevity and health of your ride. Greasy coatings make your motor run hotter by trapping warmth. This stresses components and may accelerate wear. Knocking back that residue helps sensitive parts stay cooler and operate as intended.
A well-kept engine also makes diagnosis easier. Hidden leaks can go unnoticed if everything is covered in black gunk. Having a pristine bay lets you spot new drips, stains, or odd smells before they become serious (and pricey) repairs. Even routine work goes more smoothly. Nobody enjoys wrenching on a filthy motor.
Choosing a Degreaser: The Basics
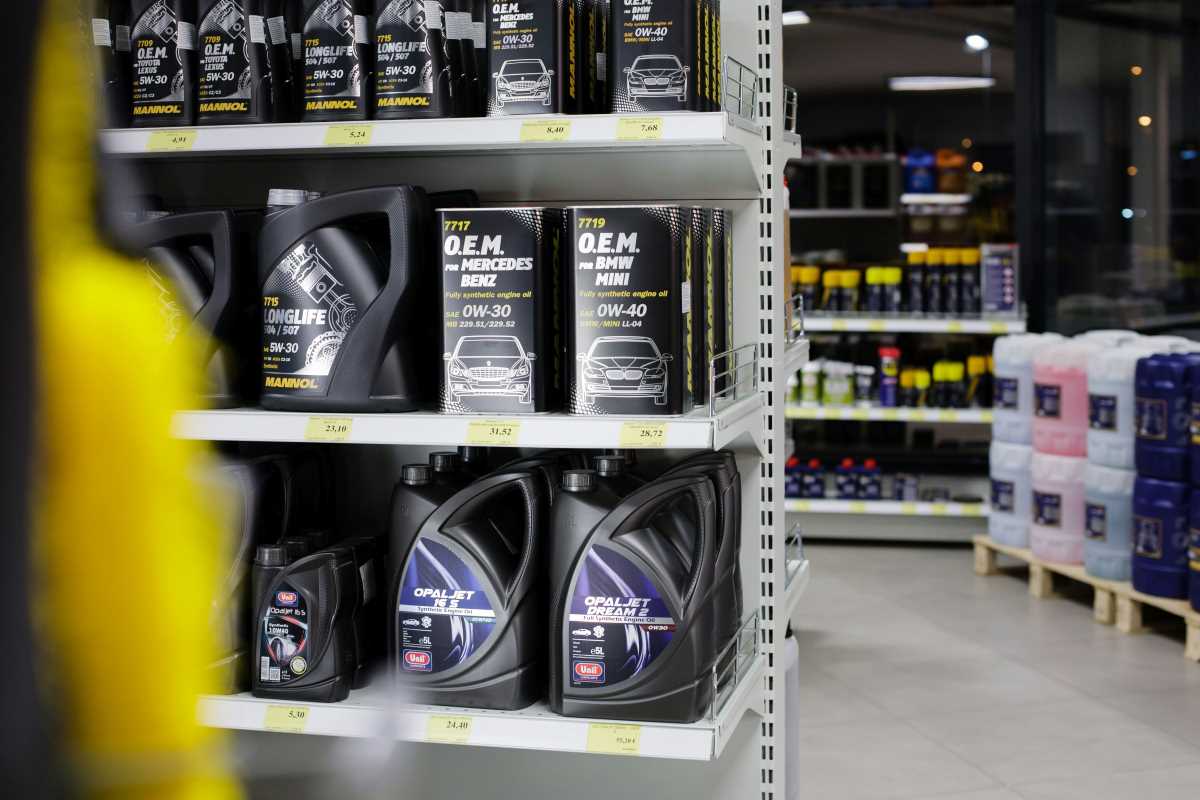
Cleaners for engines come in a few main styles. Each has its own niche and application.
- Solvent Formulas: These heavy-duty solutions use petroleum-based chemicals to bust through really stubborn, baked-on stuff. They offer powerful results but can be rough on hoses and plastic pieces. Solvents also tend to have that strong shop smell and generally aren’t eco-friendly. The classic GUNK Original is well-known in this group.
- Water-Based Solutions: These use advanced soaps and surfactants to break up road muck. They’re safer for all parts under the hood and work well on modern vehicles with lots of plastic trim and rubber. Many are also biodegradable and easier on your nose. Examples include GUNK’s zero-VOC Trigger Spray, which packs a punch without harsh chemicals.
You’ll also see different ways to apply: aerosols, trigger sprayers, gels, and foams. Gels are perfect for engines that stay warmer or have tough, sticky buildup, while foams are great for sticking to sloped surfaces.
Standout Choices for Clean Results
Plenty of products work well, but these four have earned praise for their effectiveness.
1. GUNK Original Engine Degreaser (EB1)
The gold standard for tackling neglected bays. Decades of trust have built its reputation for knocking out layers of oil and grease.
- Where it Excels: Old, greasy engines, project cars, or anything with years of residue.
- Usage: Spray onto a cool motor, allow it to soak for 10–15 minutes, and rinse gently with water.
2. GUNK Foamy Engine Cleaner (FEB1)
Many newer vehicles have large covers and more plastic bits. This foamy formula expands and sticks, soaking into tight spaces but going easy on delicate components.
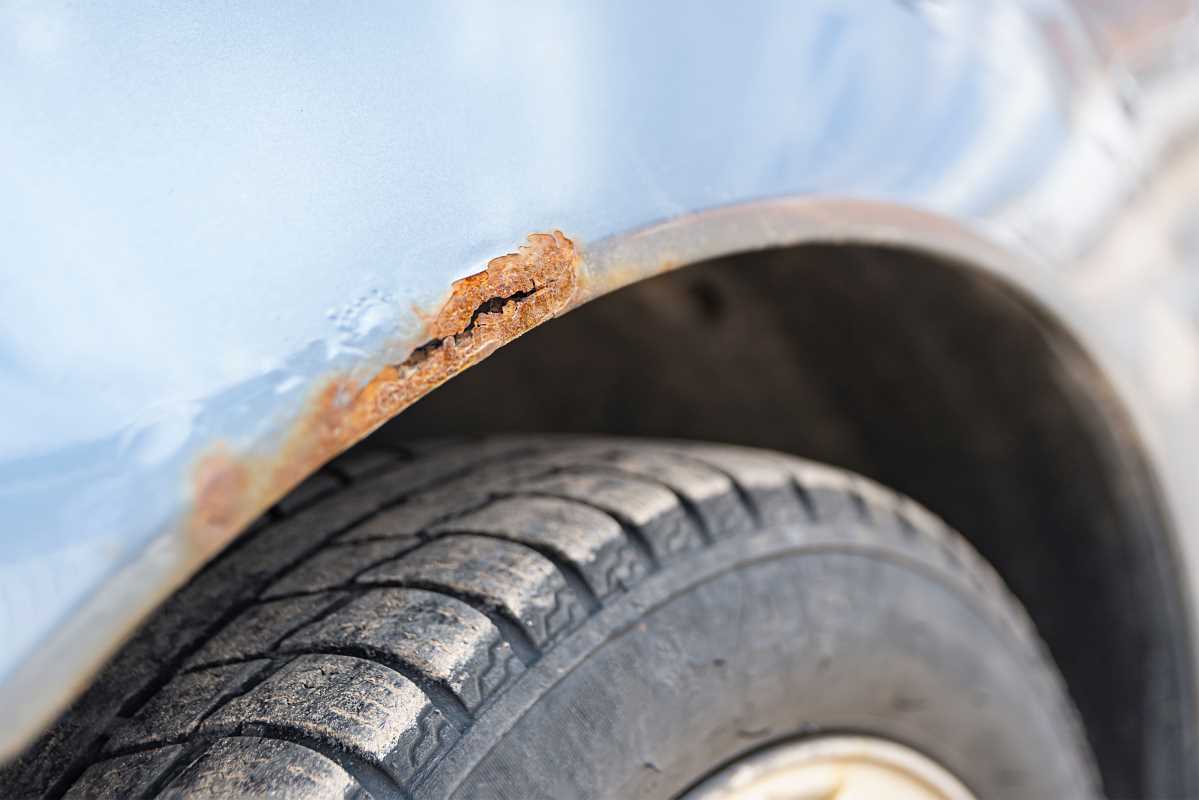
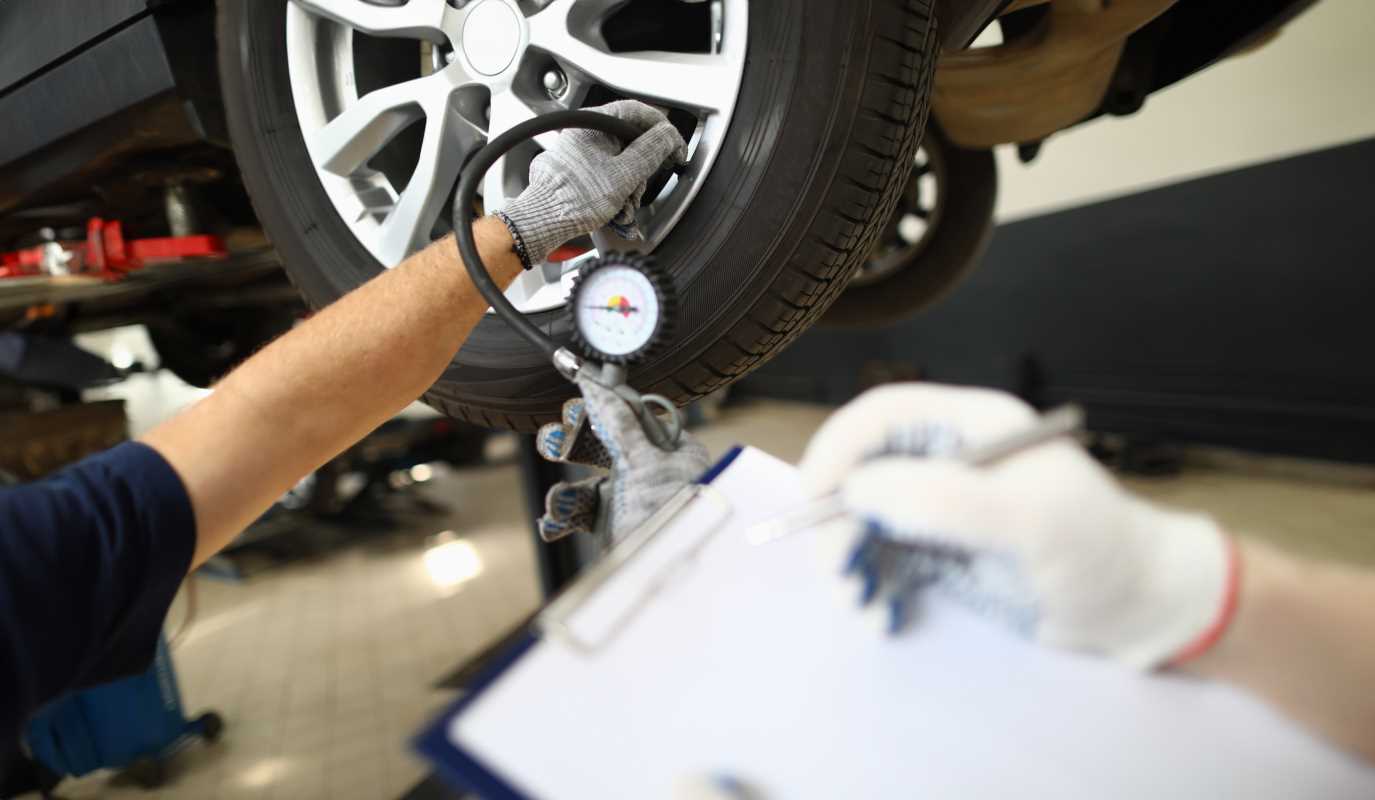
- Good For: Late-model bays with sensitive trim, and freshening up wheel wells.
- How to Use: Cover the area, let the foam sit, and gently rinse for a thorough clean.
3. GUNK Heavy Duty Gel Engine Degreaser (EBGEL)
Engines that run hot or sit at steep angles benefit from this thick gel. Regular liquids might just drip off.
- Best Use Case: High-temperature engines and tricky vertical sections where lasting contact time helps.
- Method: Spray gel directly and let it cling, then clean away after soaking.
4. GUNK Degreasing Wipes (EDW30)
Sometimes a full wash just isn't possible. These wipes make it easy to spot-clean or tackle messes on the fly, no water required.
- Ideal Situations: Fast cleanups or tackling small messes in confined spaces. They won’t irritate your hands, either.
- Directions: Simply wipe, and you’re done. No rinsing is needed for a quick touch-up.
Easy Step-by-Step: How to Freshen Up Your Engine
A few precautions and a bit of planning help avoid accidental trouble. Here’s the process.
Step 1: Let Things Cool Off
Start with power off and the area cool to touch. Avoid drastic temperature changes, which can cause cracking or warp parts. If the surface is just slightly warm, that’s fine. The product may work faster.
Step 2: Shield Delicate Parts
Dripping water or cleaning solutions can cause problems with electrical bits. Cover things like the alternator, open air intakes, sensitive connections, and any exposed wiring using plastic bags and tape or foil. This step ensures you don’t run into surprises later.
Step 3: Apply Cleaner
Pick your solution and coat all the greasy spots well, working up from lower sections to prevent runoff. Give it the recommended time, usually 10–15 minutes. For extra tough patches, gently scrub with a soft brush.
Step 4: Rinse Carefully
Use a garden hose on the lowest setting so you don’t force water into connectors. Stay away from power washers because gentle flow is safest. Always be mindful to avoid blasting water at the protected parts.
Step 5: Dry Completely
Let air do its work, or tap a leaf blower or compressed air to help things along. Double-check that any water pooled in crevices is gone. Take away the plastic covers and then start the engine briefly. This helps evaporate any hidden moisture.
Step 6: Finish with Shine
Want that freshly detailed look? A specialized engine protectant leaves a satin finish and creates a barrier so dirt is less likely to return. Wipe it over all rubber, plastic, and metal parts.
Keeping the engine compartment tidy is a satisfying chore with real benefits. It helps you run cooler, makes leaks obvious, and makes the occasional tune-up less of a headache.